First launch
The first time you open Ptah, the app guides you through selecting a workspace, analyzing the project, and generating a tailored set of AI agents. This page walks through what to expect.
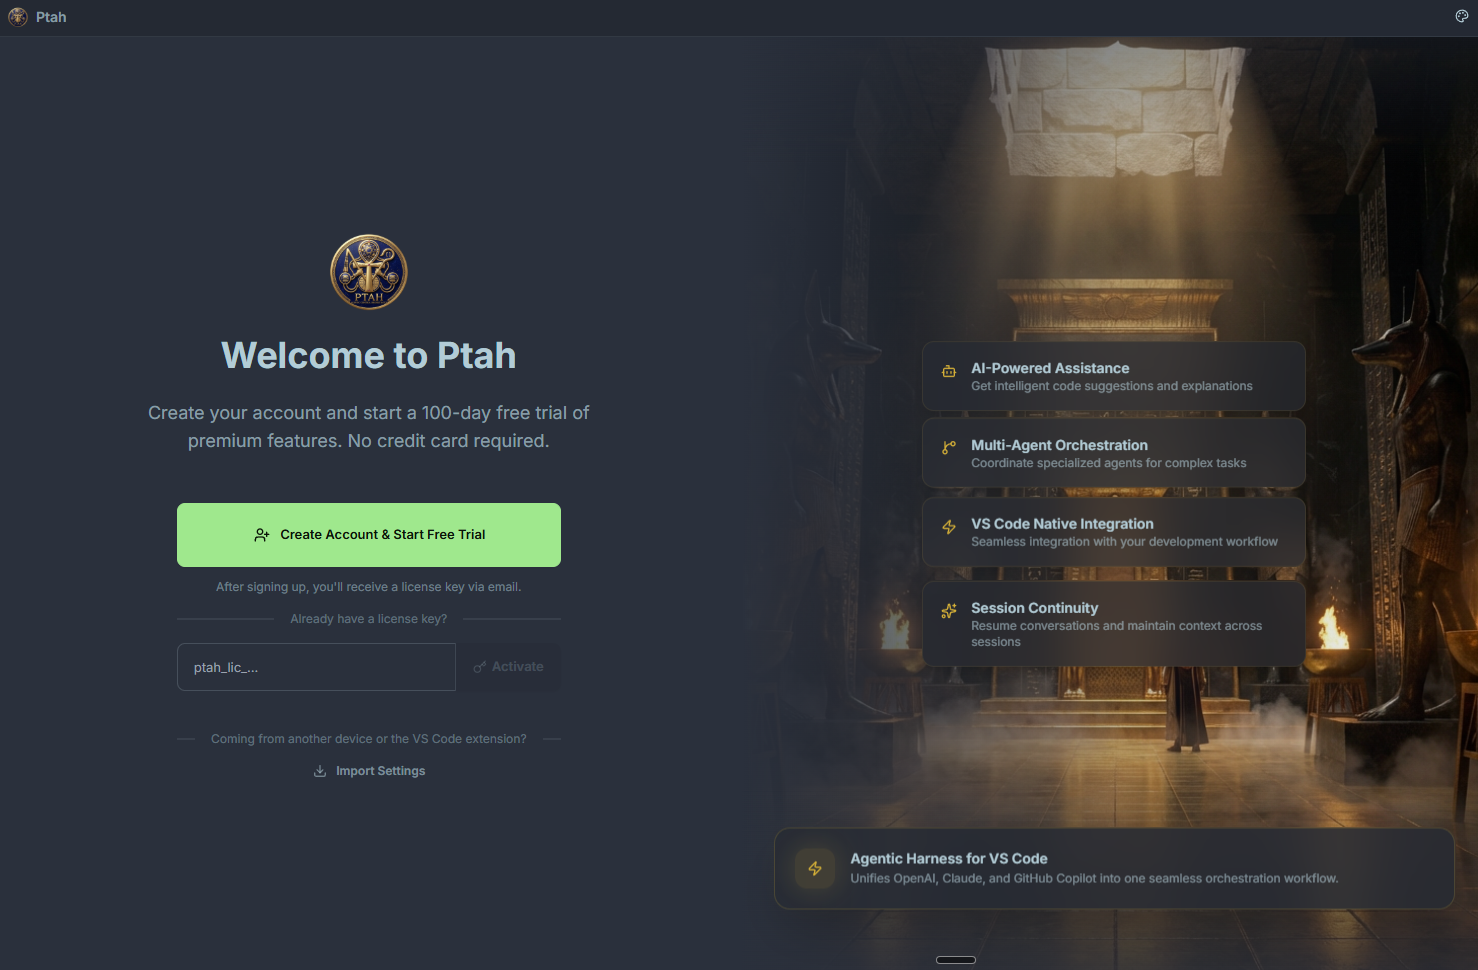
Welcome screen
Section titled “Welcome screen”Unlicensed users see a welcome screen on first launch with three options:
- Start free trial — unlocks Pro features for a limited period. See Signing in for trial details.
- Enter license key — if you already purchased Ptah Pro.
- Continue with Free tier — skip licensing and use the core chat, agent, and plugin features.
You can change your mind later from Settings → License.
Open a workspace
Section titled “Open a workspace”Ptah is workspace-centric: everything — agents, chat sessions, plugins, project analysis — is scoped to the folder you open.
- Click Open folder.
- Select the root of a project (a Git repository, a package root, or any folder you want to work in).
- Ptah loads the workspace and begins analyzing it in the background.
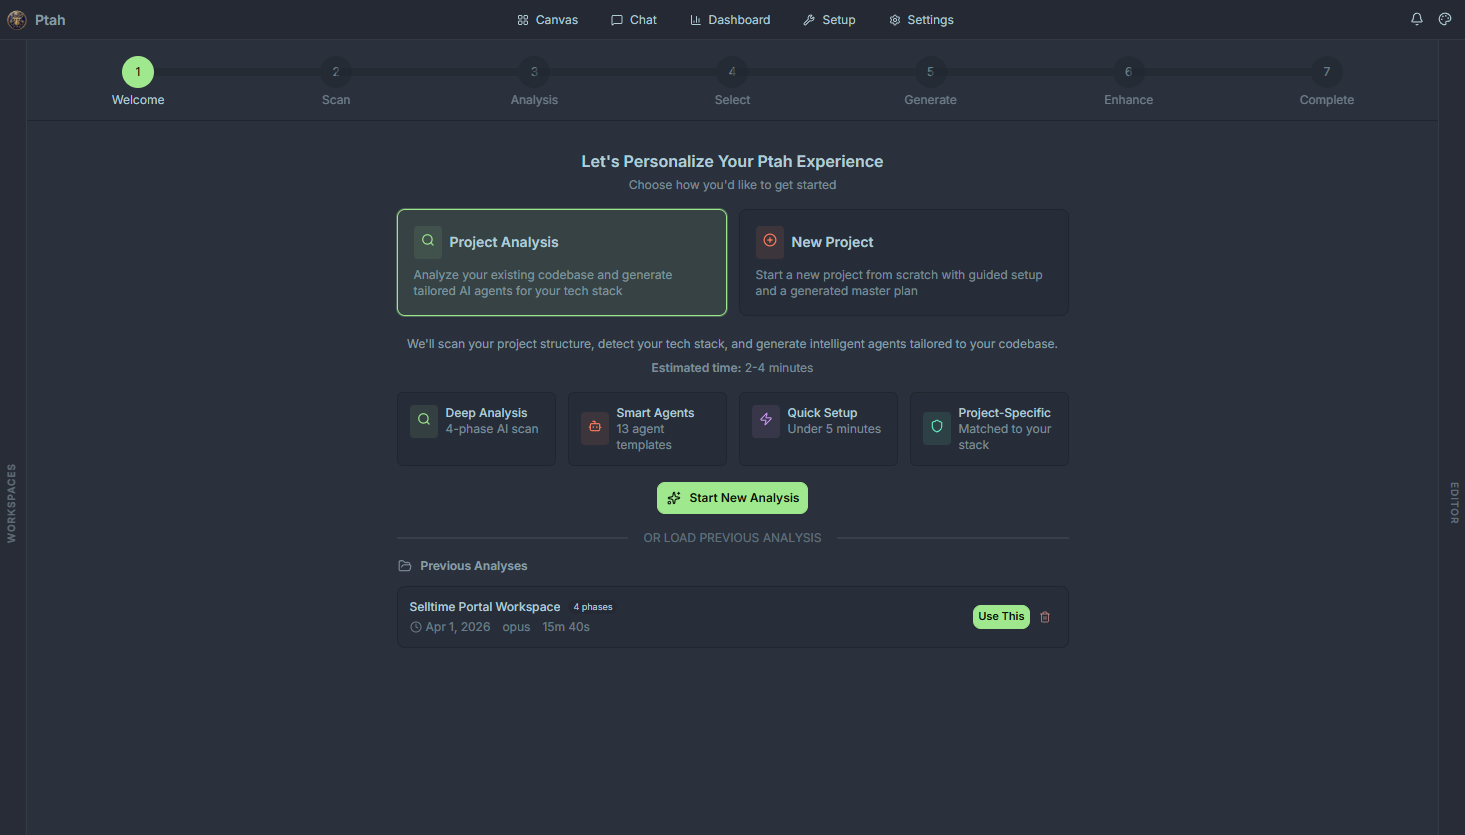
Setup wizard
Section titled “Setup wizard”The first time you open a workspace, Ptah launches a multi-step setup wizard. You can skip it and return later from Agents → Run setup wizard, but most users get the best results by letting it run once per project.
Step 1 — Project analysis
Section titled “Step 1 — Project analysis”Ptah scans your workspace to build a project profile. It looks at:
- Tech stack — languages, frameworks, and build tools detected from manifests (
package.json,pyproject.toml,Cargo.toml,go.mod, etc.) and file extensions - File structure — top-level folders, monorepo layout, test locations
- Dependencies — direct production and development dependencies
- Tooling signals — linters, formatters, CI configs, and test runners
The scan is local; no source code leaves your machine during analysis.
Step 2 — Agent generation
Section titled “Step 2 — Agent generation”Based on the project profile, Ptah proposes a set of agents tailored to your codebase — for example, a frontend component author, a backend API reviewer, or a test-writing specialist. Each proposal includes:
- A name and short description
- The role and responsibilities it will take on
- The model / provider it defaults to
- Tools it can call (file search, shell, browser, MCP, etc.)
Review the list, toggle individual agents on or off, and click Create agents to continue. You can edit every field after creation from the Agents panel.
Step 3 — CLI agent detection
Section titled “Step 3 — CLI agent detection”Ptah scans your PATH and common install locations for installed CLI agents and registers the ones it finds:
- GitHub Copilot CLI
- OpenAI Codex CLI
- Claude CLI
- ptah-cli (the bundled CLI that ships with the desktop app)
Detected CLIs show up with a green badge in Providers → CLI agents. Missing ones can be installed later from the same panel or through your package manager of choice.
Step 4 — Import existing sessions
Section titled “Step 4 — Import existing sessions”If Ptah finds a Claude CLI session history at ~/.claude/projects/, it offers to import those conversations into the current workspace. Imported sessions appear in the chat history sidebar and remain fully editable — the import is a one-time copy, not a live link.
After the wizard
Section titled “After the wizard”Once setup finishes, Ptah drops you into the main workspace view with:
- A default chat session ready to use
- Your generated agents in the sidebar
- Detected providers and CLI agents in the status bar
If the analysis missed something — a nested subproject, a custom tech stack — you can re-run it any time with Workspace → Re-analyze.
Next step
Section titled “Next step”Continue to Signing in to activate a license and configure your AI providers.